How to Sharpen a Pocket Knife: Step-by-Step Guide
Keeping your knife sharp is the best way to ensure consistent and safe cutting. A dull knife is not only frustrating to use, but it can also be dangerous since it will require more force to do the same amount of work as a sharper blade. But don’t be afraid of sharpening! The truth is, maintaining the edge on your blade is not hard, it can just take a little practice if you’ve never done it before. Here is our step-by-step guide on how to sharpen a pocket knife.
- Choose The Right Knife Sharpener
- Start With The Right Grit
- Choose Your Sharpening Angle
- Set Your Bevel and Raise a Burr
- Proceed To Higher Grits
- Hone or Strop Your Edge
Step 1: How To Choose The Right Knife Sharpener
If you need help picking a type of sharpener, read on.
Traditional Whetstones/Benchstones are made from naturally abrasive materials, and are often used in conjunction with a honing oil applied to the surface to act as a lubricant to help “float” away the metal that is removed from the knife blade as you sharpen. Some benchstones may come with angle guides for reference when sharpening.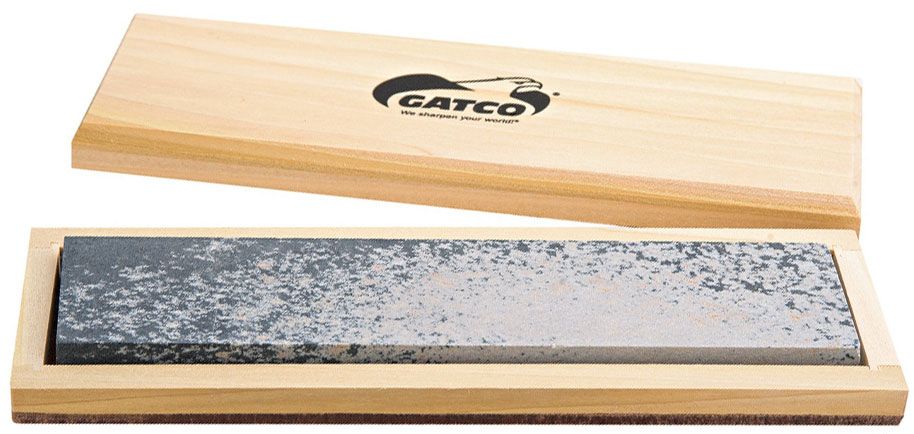
Waterstones are typically associated with traditional Japanese methods and are often considered more sophisticated than whetstones. These stones use water, rather than oil, as a lubricant, and some may actually be submerged in water for several minutes before sharpening.
Ceramic Stones are manufactured to maintain their grits more consistently than naturally occurring materials. These do not use any lubricant and are used “dry” instead.
Diamond Stones are made from thin sheets of steel embedded with diamond particles. The particles are extremely hard and perform very well, especially with modern super steels with high wear resistance. Like ceramic stones, these are typically used “dry” without any lubrication, but it is important to use only light pressure with Diamond Stones to avoid stripping the particles out of the steel surface.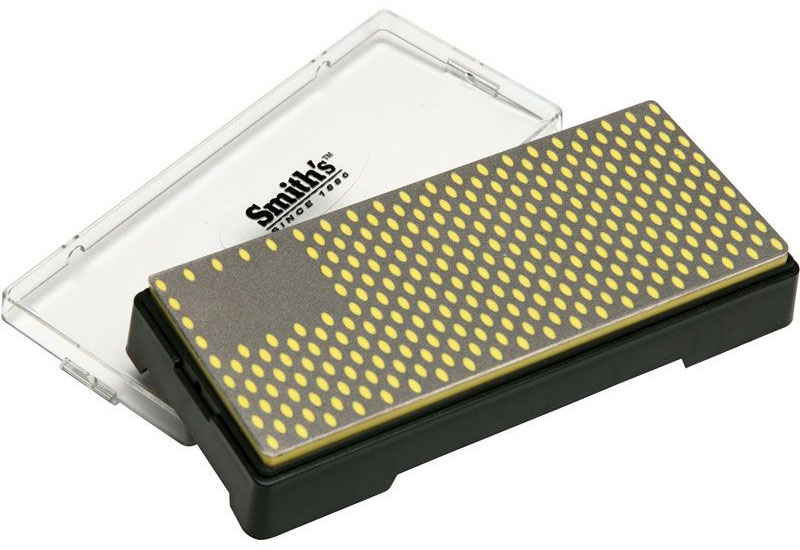
V-Style Sharpeners, sometimes referred to as crock stick sharpeners, are most-often made from ceramic or diamond abrasives and consist of a pair of rods placed in a base and arranged in an upward V-formation. This style is easy to use as the edge of your knife simply points straight down. No guessing at angles!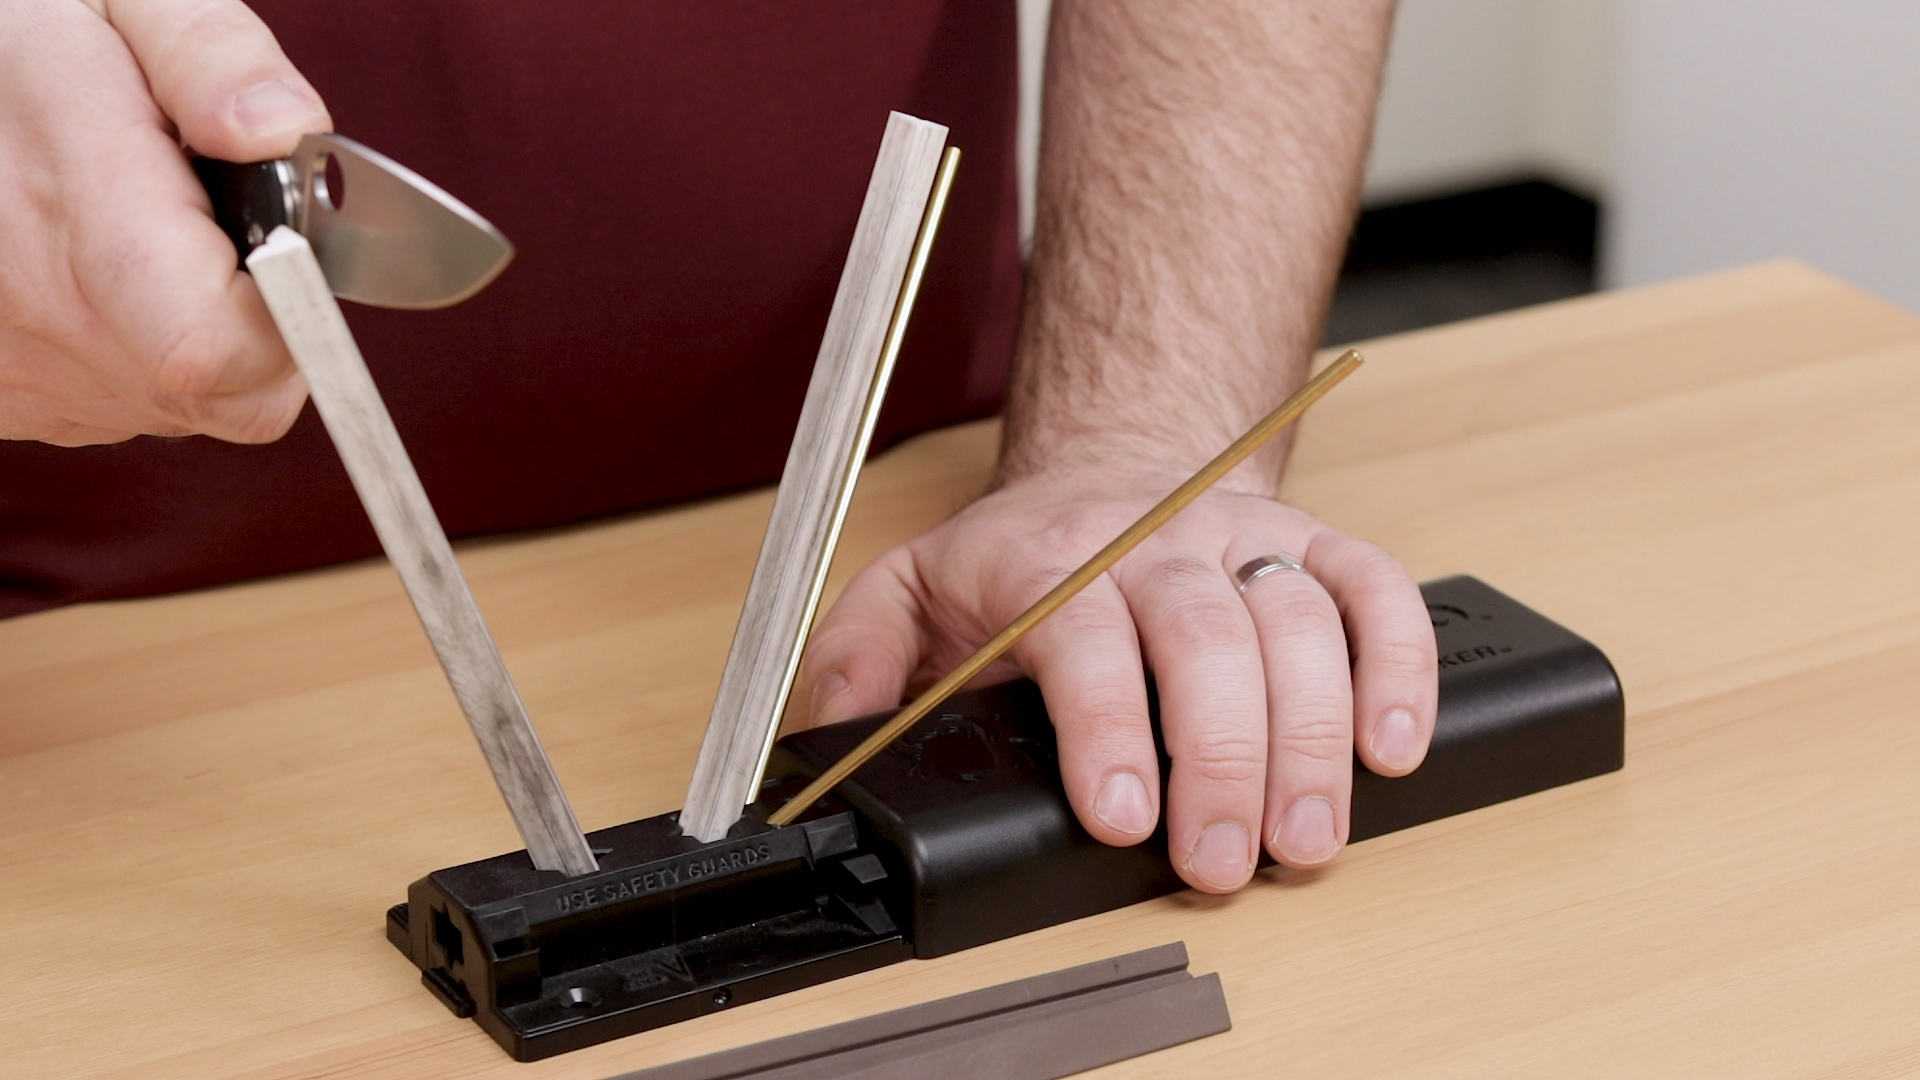
Clamping Sharpeners are perfect for finely controlling the angle of your edge. By clamping the blade in a fixed position, the sharpening angle can be kept consistent throughout the entire process. The abrasives on Clamping Sharpeners can be made from ceramic, diamond, or naturally occurring stones.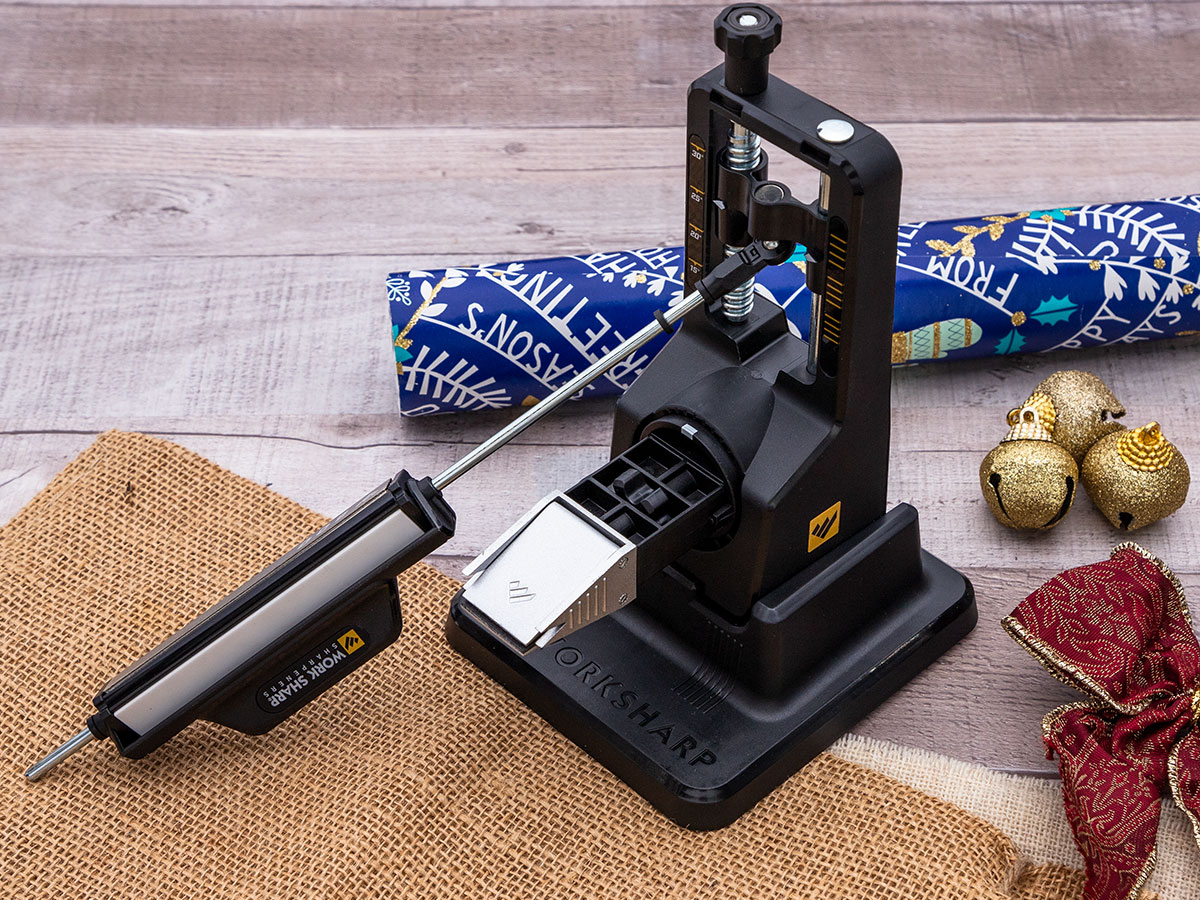
Pull-Through Sharpeners typically use carbide cutters in a v-shaped orientation. These work more quickly than almost any other style of sharpener but the edges they produce are usually fairly rough. They are ideal when you need fast results but your blades and your edges will last longer with a more refined edge.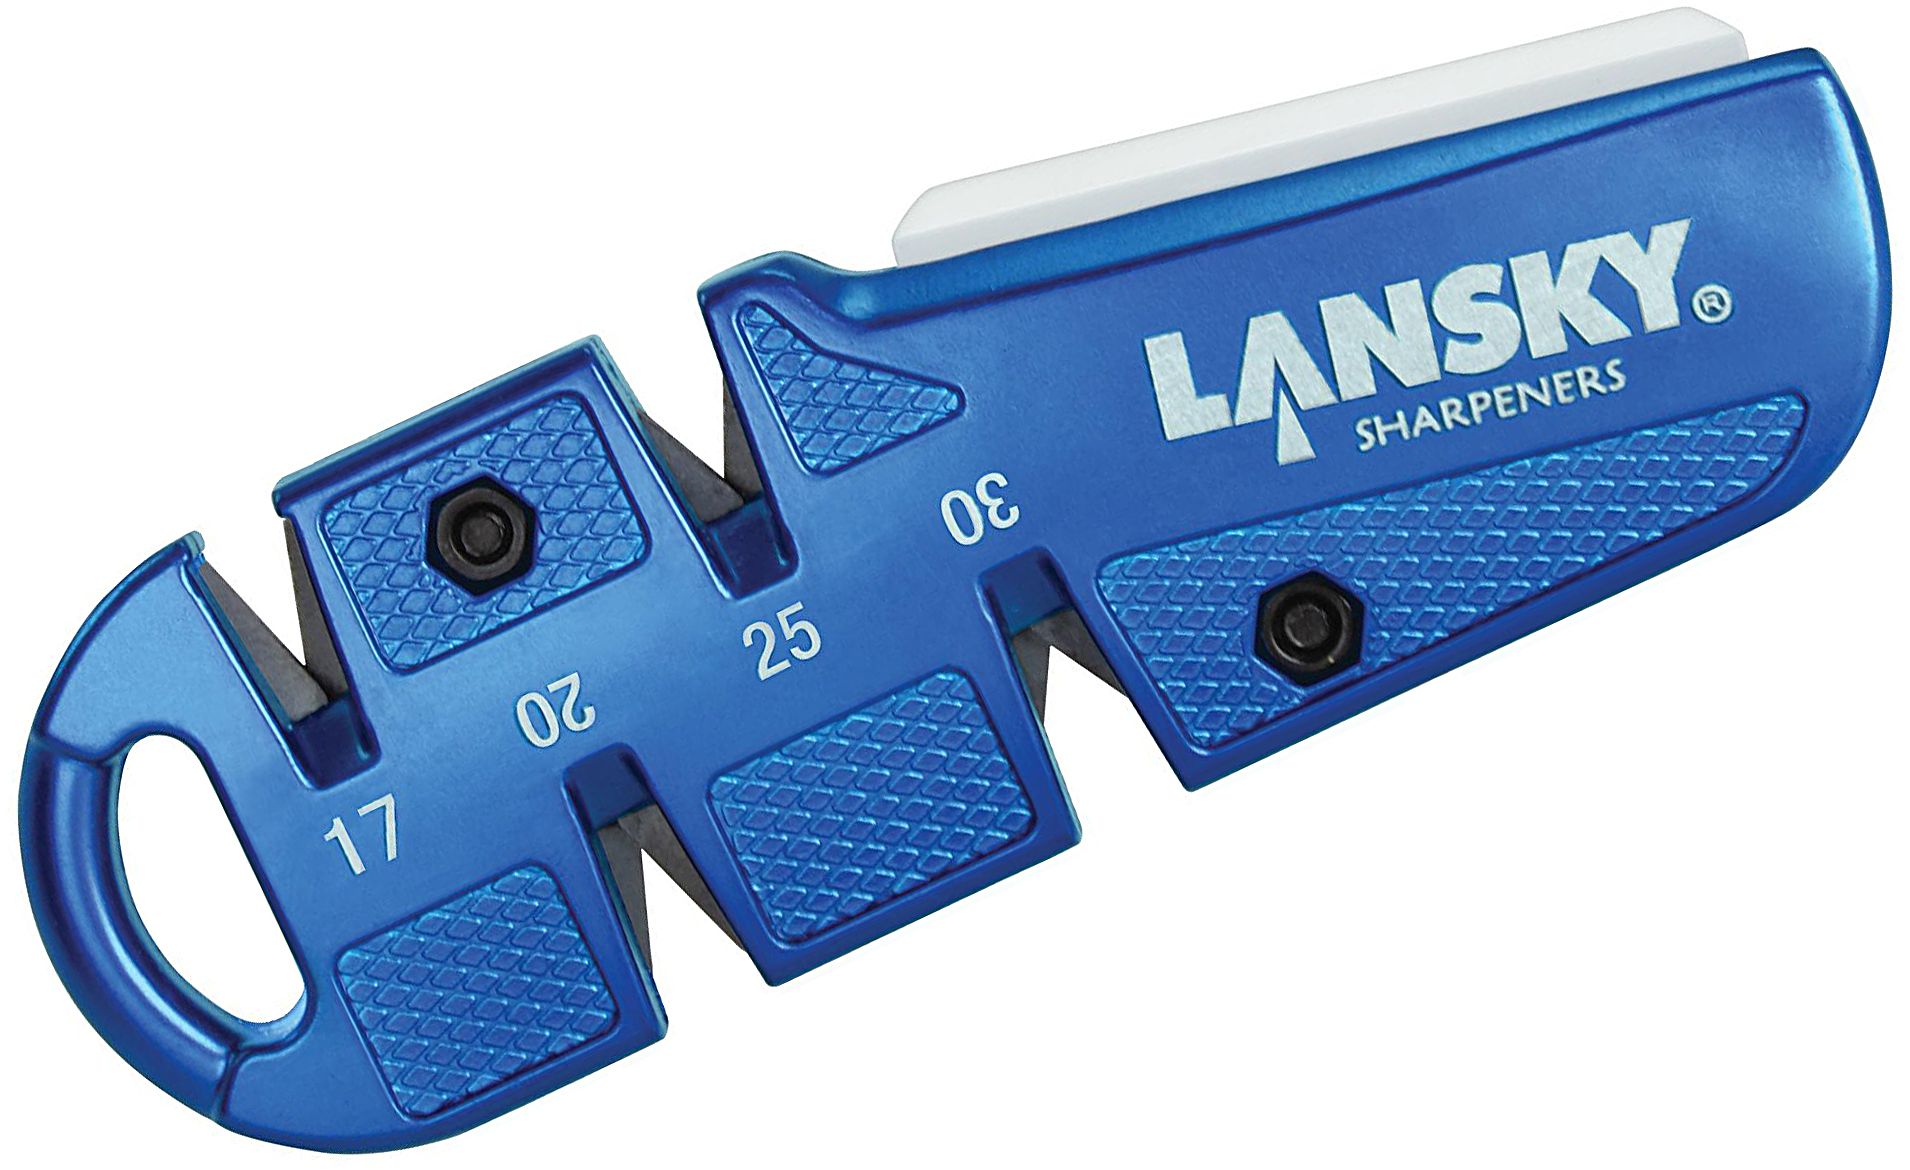
Electric Sharpeners can save you time as they work quickly but they can also usually achieve a more refined edge than the Pull Sharpeners discussed above. Two main styles you’ll see are models that use rotating plates of diamond abrasives or models that use abrasive belts, similar to a miniature belt sander, to achieve their results.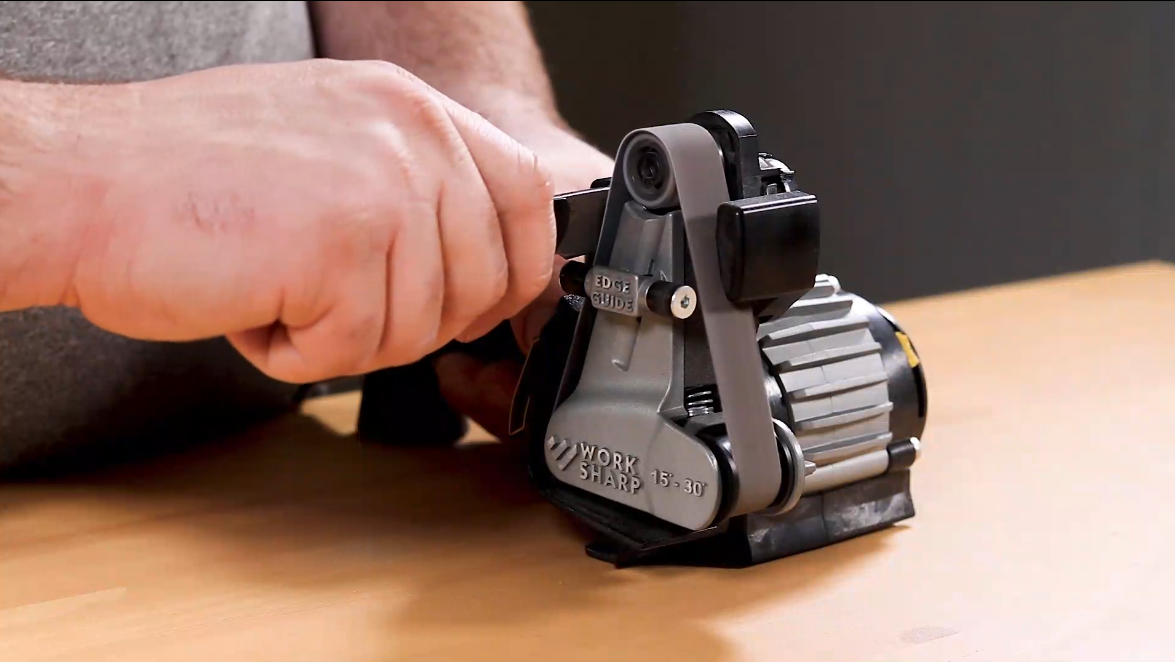
Strops are usually made from leather and can be free-hanging, or fixed to a rigid backing. Often used in conjunction with abrasive compounds, strops are more often used to hone or deburr an edge (see Step 6 below) rather than being a full sharpening system.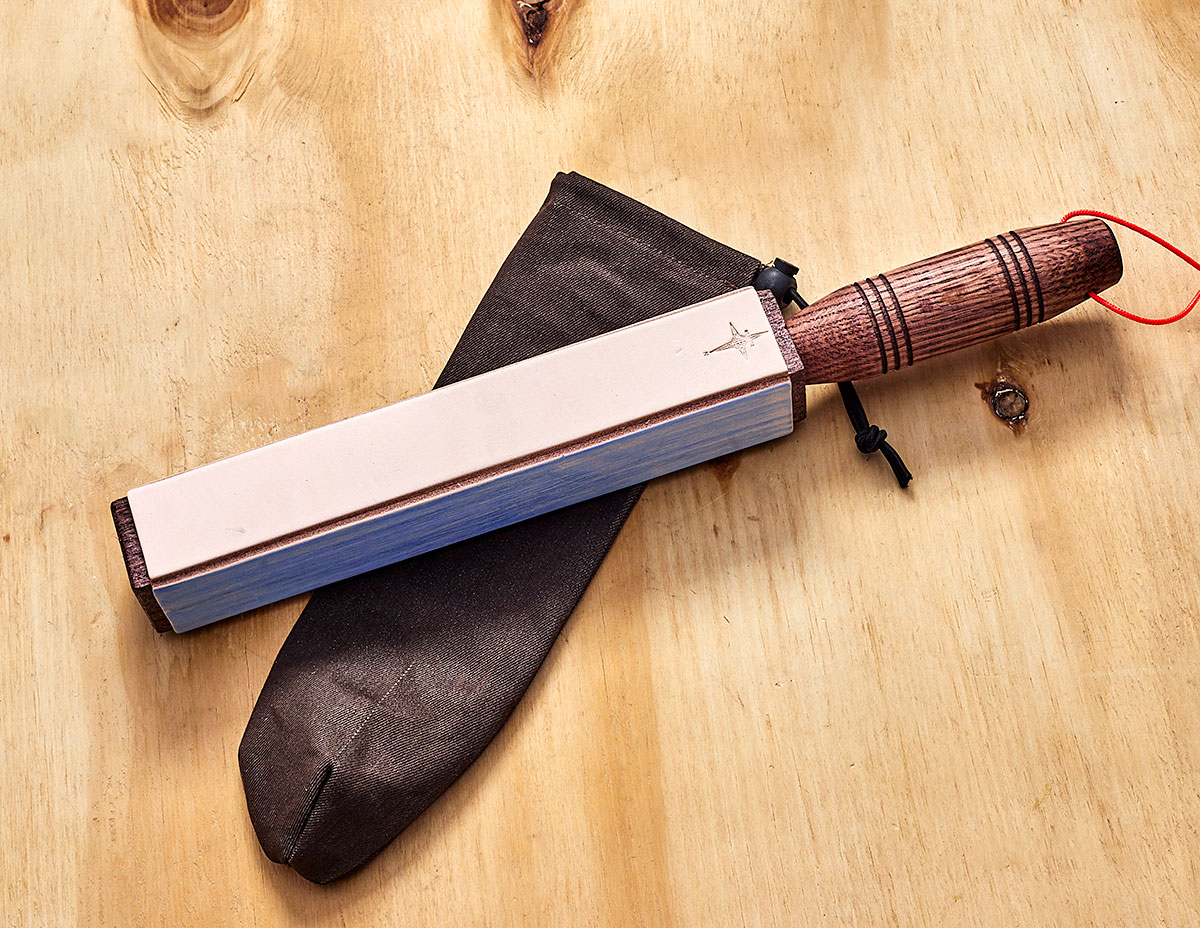
Honing Rods or Sharpening Steels are hardened rods of steel, typically with grooves running their entire length. These don’t actually sharpen your knife, rather they help hone or realign the edges of your blade, helping it last longer in between sharpening sessions. However, some modern rods employ the use of diamond or ceramic abrasives to transform this style of rod into something that can actually sharpen.
Step 2: Understanding Grits
What Grit Should I Use To Sharpen My Knife?
Sometimes it can be hard to know which grit is appropriate for the condition of your knife’s edge, especially since some manufacturers use different standards for measuring grit or only label their sharpeners as coarse, medium, or fine, rather than listing a specific grit number. Lower grits are more coarse, and higher grits are more fine. The grit numbers provided below are only general guidelines.
Coarse Grits (400 grit or under): Best used when there is visible damage to your edge, such as small chips or dings or when your knife is significantly struggling to cut.
Medium Grits (400-800 grit): Used for refining your edge or when only moderate edge improvement is needed.
Fine Grits (800 grit or higher): Used for the final stages of sharpening or when only light edge improvement is needed.
Step 3: Choose Your Sharpening Angle
At What Angle Should I Sharpen My Knife?
Most knives are sharpened with an angle between 15 and 20 degrees on each side.
Lower angles produce a sharper edge while higher angles are stronger and resist chipping better.
If you are unsure of what angle to use, 20 degrees per side is almost always a safe bet, providing a good compromise between edge strength and cutting efficiency.
Step 4: Set Your Bevel and Raise a Burr
These instructions assume you are using a typical benchstone setup. If you are using another type of sharpener you must follow the manufacturer’s instructions, but the concepts outlined here will remain the same across any device.
Starting with the lowest grit, sharpen one side of the blade first. Using moderate pressure, hold your knife at the appropriate angle and push your blade from one end of the stone to the other, while also dragging the edge from the back (heel) of the blade toward the tip.
As you sharpen one side of your blade, metal will be pushed over the apex of the edge and form a burr on the opposite side. This burr can be identified by feel or by sight. You will know you have sharpened your edge appropriately once you have a consistent burr along the entire edge.
Now, turn the knife over and repeat this step until you are able to raise a consistent burr along the entire edge on the second side.
Once achieved, perform several strokes, alternating from one side to the next, to minimize the burr before moving onto the next step.
Once this step has been completed, you should be able to skip it in future sharpenings, unless you need to repair significant edge damage or you desire to change your edge angle.
Step 5: Proceed To Higher Grits
Now that your angle has been set in Step 4, you do not need to set a burr again with your higher grit stones, as long as you are maintaining the same angle that you used in Step 4.
Starting with your next higher grit stone, perform alternating strokes on each side of the knife, pushing the edge forward across the stone. This will refine your edge by removing the deeper scratches left by the lower grit stone used in the previous step
20-30 strokes on each side of the blade is a good minimum number of strokes, but more may be required depending on the quality of your sharpener or the hardness of your steel.
Repeat these steps until you have finished your edge on your finest grit sharpening stone.
Step 6: Hone or Strop Your Edge (Optional)
The final step to take your edge from good to great is by using a honing rod or a strop. This will both further refine the scratch pattern on your edge as well as ensure it is completely deburred before use.
To use a honing rod, follow the instructions in step 5.
To use a strop, use light pressure and drag your edge backwards along the strop, rather than pushing forward like you would with a stone. Repeat this several times on each side of your blade.
Because the surface of a strop is flexible, use a lower angle than when you sharpened the knife to ensure your sharp edge does not become rounded over and dulled.
Video Reference Playlist
Sharpening FAQs
How Do I Know When To Sharpen My Knife?
If your knife is beginning to cut less easily than it used to, it is probably time for a light sharpening with the finer grits in your sharpening system. If cutting feels like a struggle, it may be time to sharpen with the coarser grits in your sharpening system.
How can I tell if I am sharpening at the right angle?
With an Angle Checker, you can precisely measure the edge angle of your knife. From there, you can match your sharpening angle by hand or with a Clamping or Guided Sharpening System that allows you to precisely set and control your sharpening angle.
A low-tech way to check your angle results is to color the edge of your knife with a marker and then perform a few strokes with your sharpener and check the results.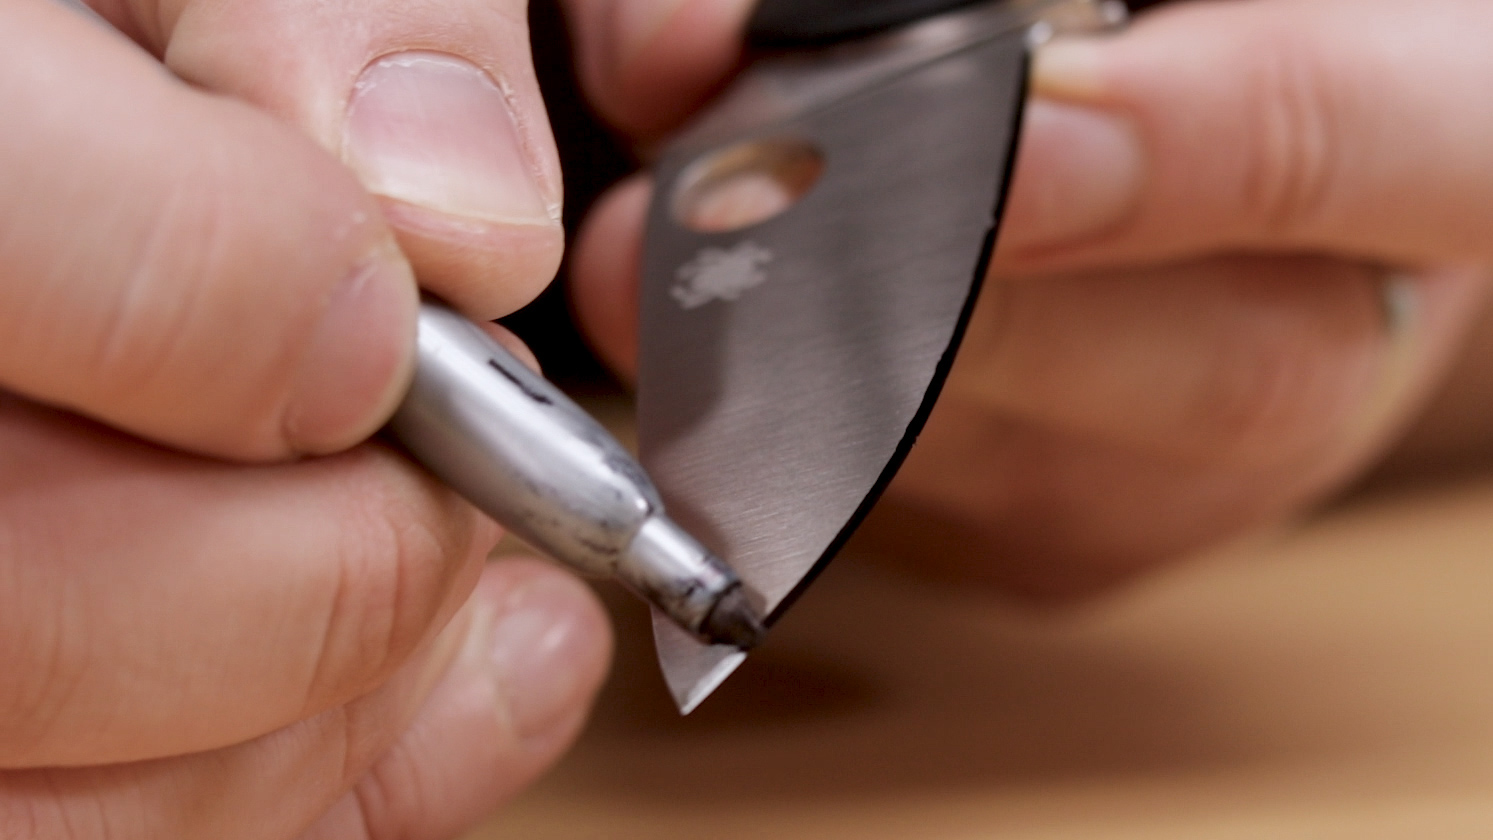
If the marker has been completely removed, you are sharpening at the correct angle. If the marker has only been removed from the very edge, you should lower your sharpening angle. If the marker has only been removed from the very top, or shoulders, of the line, then you are holding the knife too shallow and must raise your angle.