Bushcraft Skills: How to Start a Fire With a Survival Knife
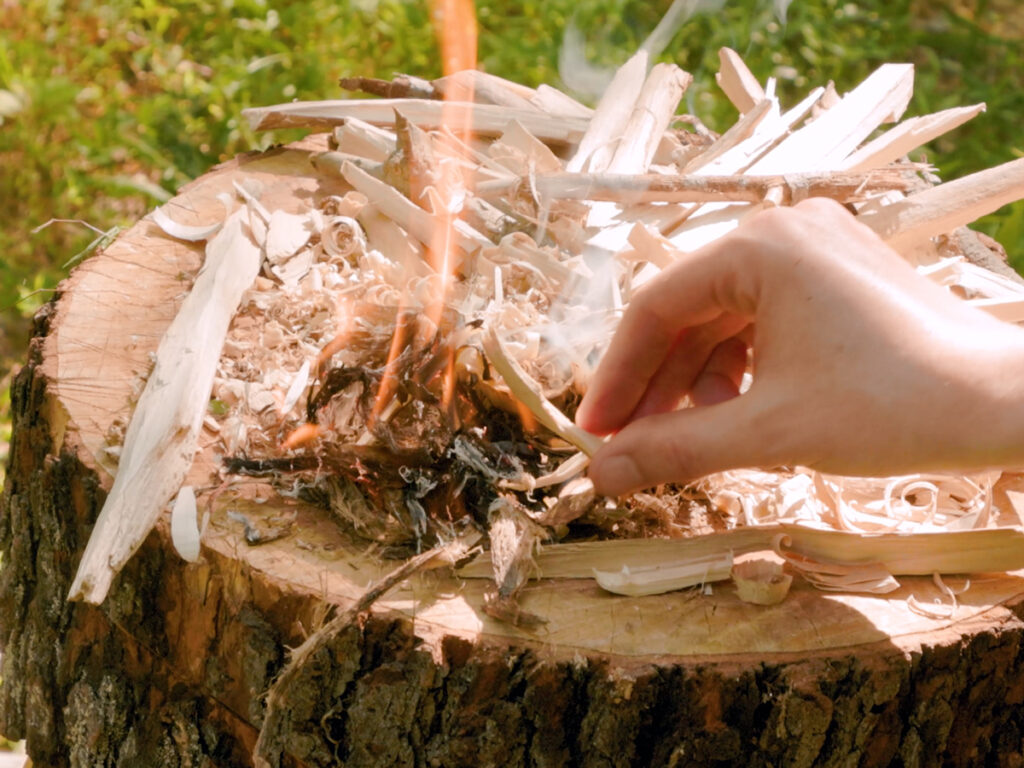
Learning how to start a fire is a foundational survival skill. Not only will it teach you basic wilderness woodworking techniques like how to split wood with a knife, a survival fire will help you stay warm, dry, and visible when it matters most. This guide will walk you through the steps of making a “one-stick fire,” a bushcraft knife technique that uses a single source of wood to make everything you need to get a flame going. So, grab your survival knife of choice and follow along!
Supplies You’ll Need:
Bushcraft or Survival Knife
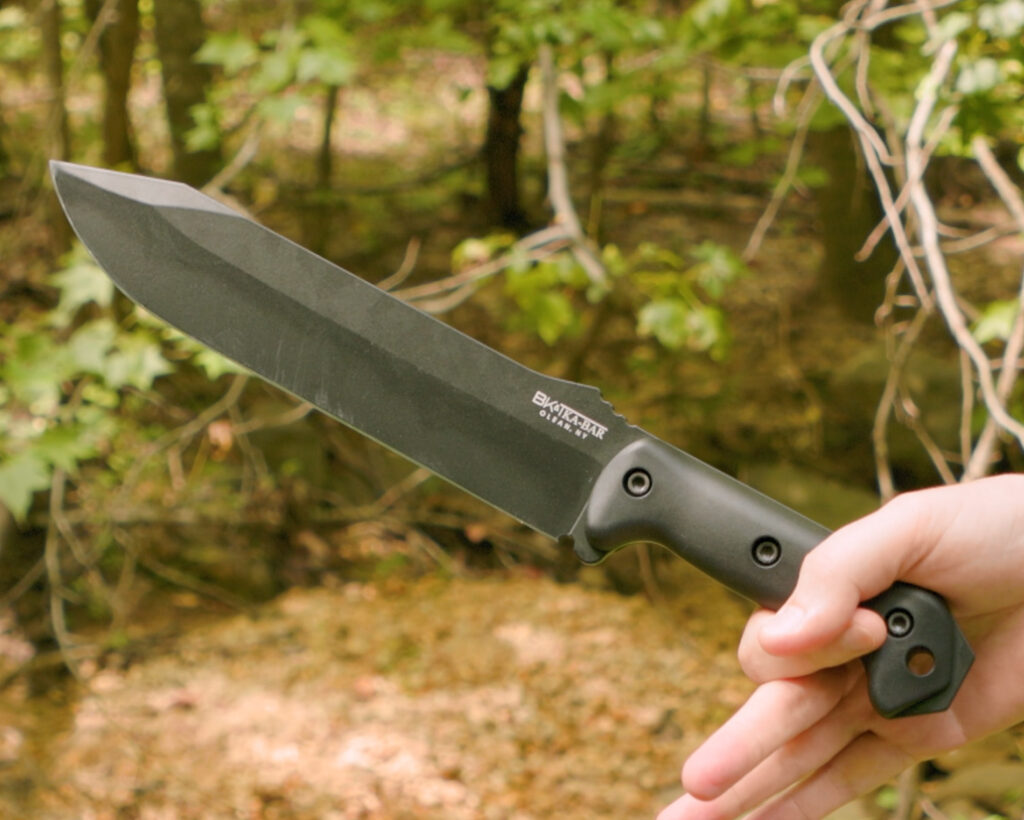
Ultimately the choice of knife is up to you, but for this guide we’ll be using a Becker BK9 fixed blade because it’s large enough to easily span the width of most tree branches, tough enough to handle the impact of chopping and batoning, and well-balanced enough to easily control for finer carving or cutting tasks. A folding pocket knife is not recommended—they simply don’t have enough lock strength to be safe or handle comfort to keep up with a good fixed blade knife.
Ferrocerium Rod
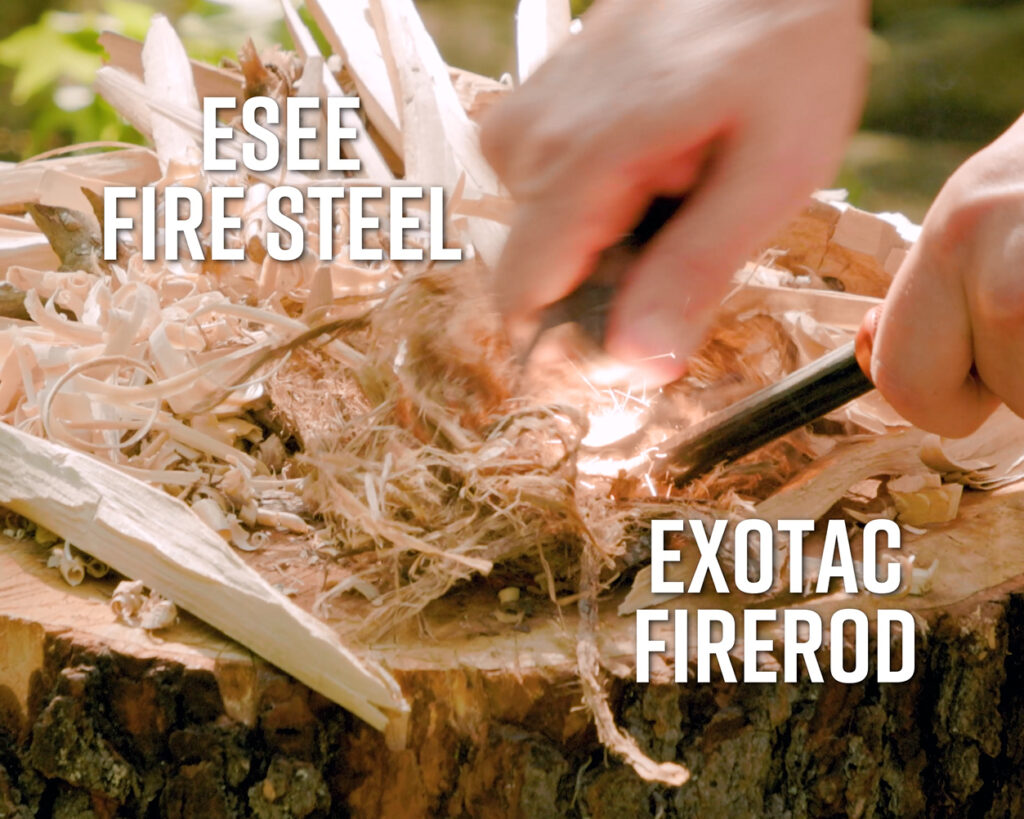
Also called a firesteel, a ferrocerium rod is our favorite bushcraft firestarter. When lighters run out of fuel and matches blow out, a good ferro rod, like this one from Exotac, will still be throwing the sparks you need to light your tinder. We also prefer them because they are compact and lightweight enough to stash alongside your knife—in fact many fixed blade sheaths come set up to carry a firesteel straight from the factory! Some people choose to use their knife to scrape sparks, but in this case we’ll be using an ESEE Fire Steel Striker.
Step 1: Identify the Best Place to Work
Almost everything involved in starting a survival fire happens before you ever even throw a spark. Preparation is key to success, and that begins with finding a good place to work. Look for a flat, open space where you have enough room to stand and swing a knife around. You’ll also need a sturdy surface that you can safely brace wood against while chopping or splitting, like a tree root or stump. And finally, you’ll need a place to actually start your fire: ideally someplace level, dry, and spacious enough to organize around your tinder and kindling.
Step 2: Gather Wood, the Fuel for Your Fire
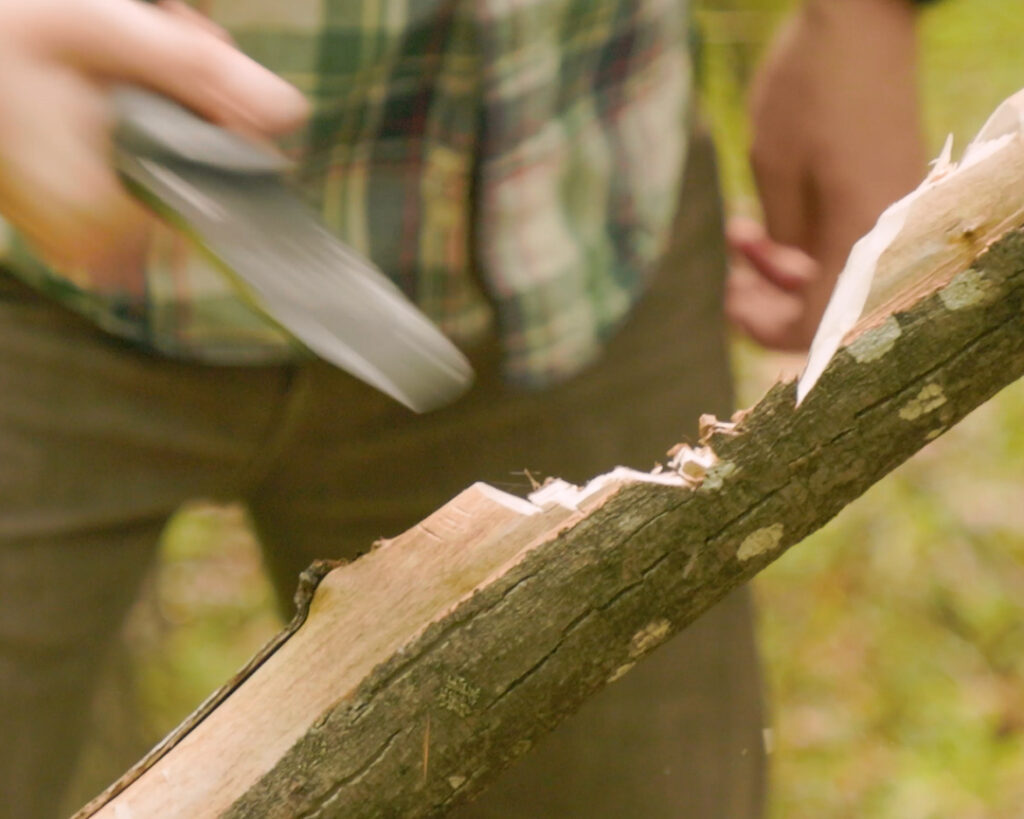
If you’re lucky, you’ll have no trouble finding dry, well-sized wood to fuel your fire. However, if all the wood around you is in the form of huge branches too large for kindling, or if it’s too wet to catch fire easily, you’ll need to break that wood down into manageable-sized pieces to expose the drier, more flammable interior and give yourself the best possible chance at starting a fire. To complete this one-stick fire challenge, we chopped a dead branch into manageable-sized chunks using the formidable size of the Becker BK9 to our advantage.
In a true survival scenario, it’s always wise to avoid burning precious calories doing unnecessary work. Often, its possible to use leverage to break a stick down to size, so chopping may not always be necessary. Brains over brawn!
Step 3: Break It Down
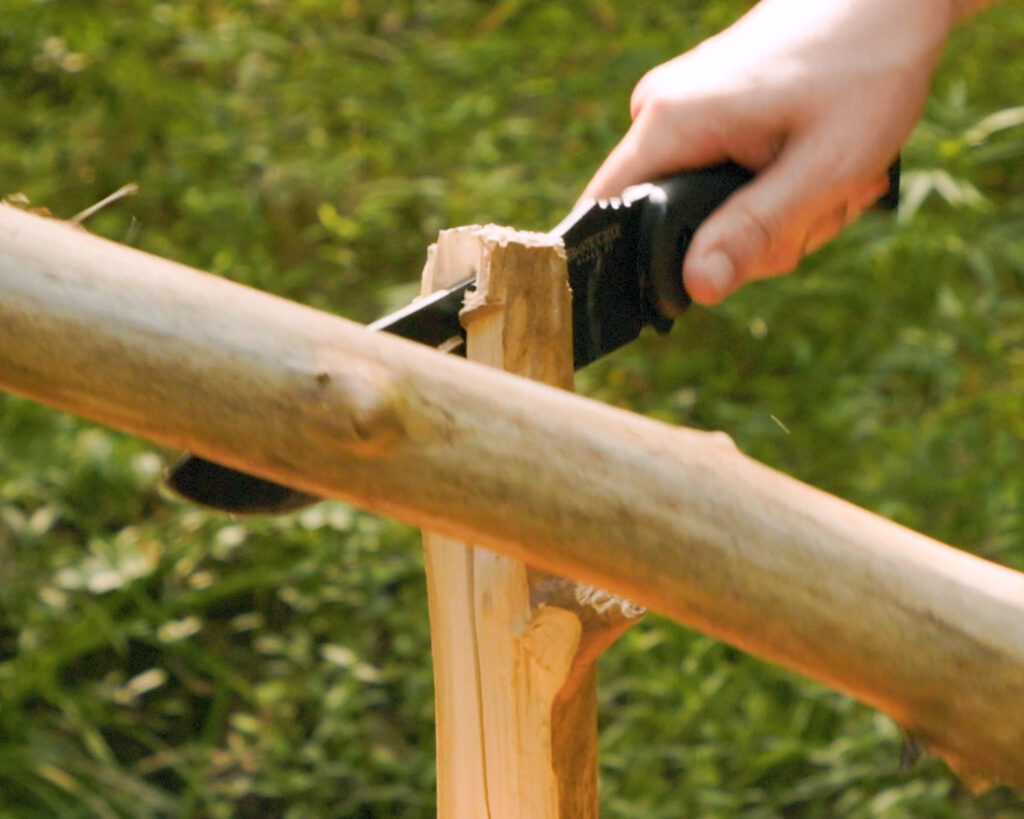
Now that you’ve found and gathered your wood, it’s time to break it down into different sized pieces to construct the fire. Here we use a technique called batoning, which uses your knife as a wedge to split larger pieces of wood into smaller, more manageable sizes. To baton wood, place your knife on one end of the log or branch, and use another piece of wood to strike the spine of the knife, driving it through and splitting the piece apart.
When done improperly or with the wrong knife, it’s possible to bend or break your knife while batoning. Of course, we don’t want that to happen, especially in survival situations where your knife is your most important tool! Here’s what you can do to keep you and your knife safe:
- First, make sure you’re using a knife with a full tang, meaning the blade extends fully through the handle, as this provides maximum strength and durability.
- Avoid batoning with knives that have thin blades or are made from soft or low-quality steel, as these are more prone to buckling or snapping under pressure.
- Aim to baton through softwoods like pine or cedar rather than dense hardwoods, and never anything thicker than the blade is long.
- Avoid striking the knife directly on the tip or the handle; instead, aim for closer to the middle of the blade.
- Finally, be mindful of knots in the wood, as they can be harder to split and might cause the blade to get stuck, increasing the risk of damage.
Tinder: The Foundation of Your Fire
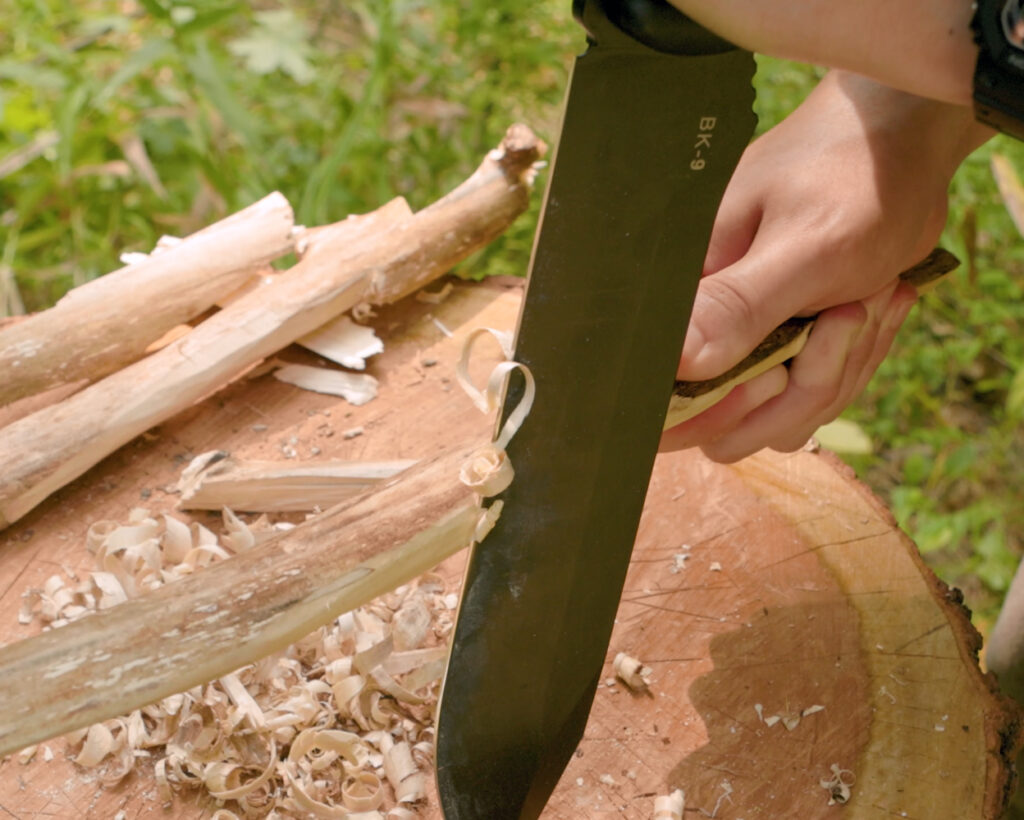
Once the wood is split, it’s time to create fine shavings from the inner, drier parts of the wood to use as tinder. You can brace the stick on your working surface and carve away at it, or, as pictured above, anchor your knife in the surface and pull the wood against it—either way can be effective but it’s fun to practice both! To make even finer tinder, you can also pound dry grass or fibrous bark into a fluffy nest that should ignite quickly.
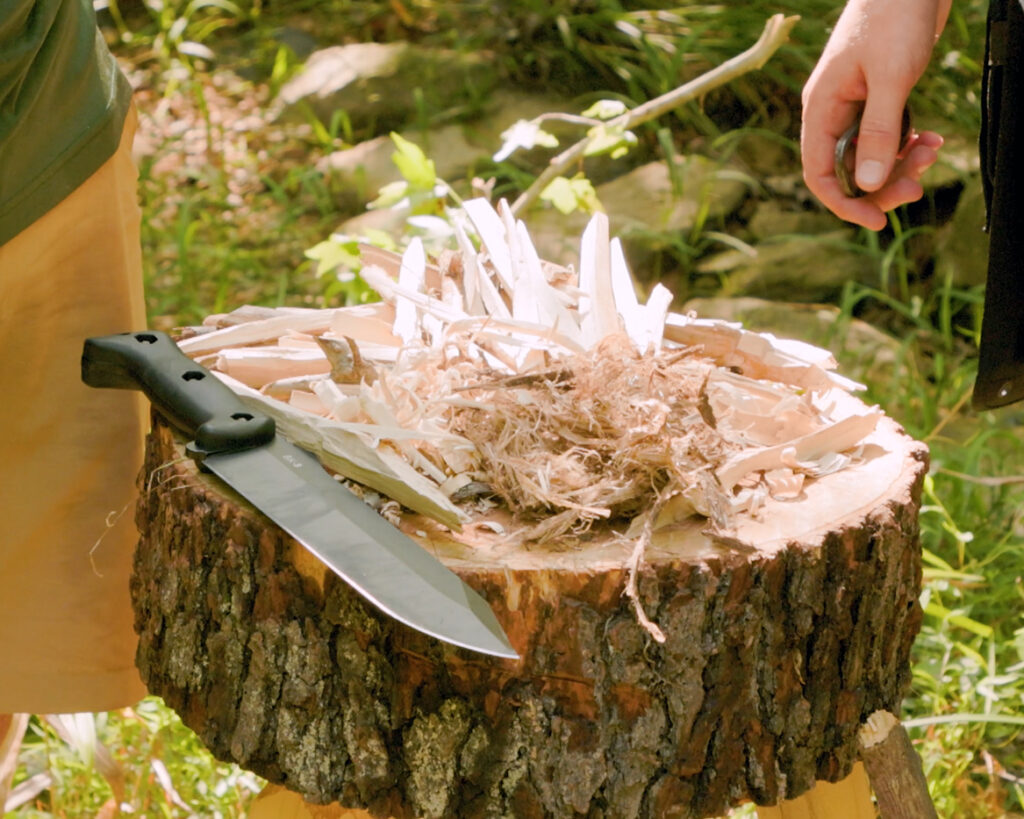
With all your materials prepared, you’re ready to use a firesteel (also known as a ferrocerium rod) to ignite the tinder. A firesteel produces hot sparks when scraped with a sharp edge. Hold the firesteel close to your tinder, and scrape the rod with a quick, firm motion, sending sparks into the pile of shavings or feather sticks. The fine, dry material should catch the spark and start to smolder. Gently blow on the ember to feed it oxygen, and once the flame appears, carefully add the kindling and gradually larger pieces of wood. Now you’ve got a flame going—time to break out the s’mores!
The combination of knife skills and fire-starting tools can be life-saving in the wilderness.